Dad and I started adding the rigid insulation to the roof today. The insulation I chose has grooves for embedded strapping to make installation a snap. However, the challenge was to find the rafters! I was fastening through the 2" of rigid, 3/4" plywood, and into the roof rafters. It was a slow process because I didn't want to miss and end up with a screw or nail poking through the ceiling. This wouldn't be an issue if the ceiling wasn't exposed, but since I'll be seeing the bottom of my roof sheathing I needed to be extra careful. Luckily we had mom inside keeping an eye on things! :)
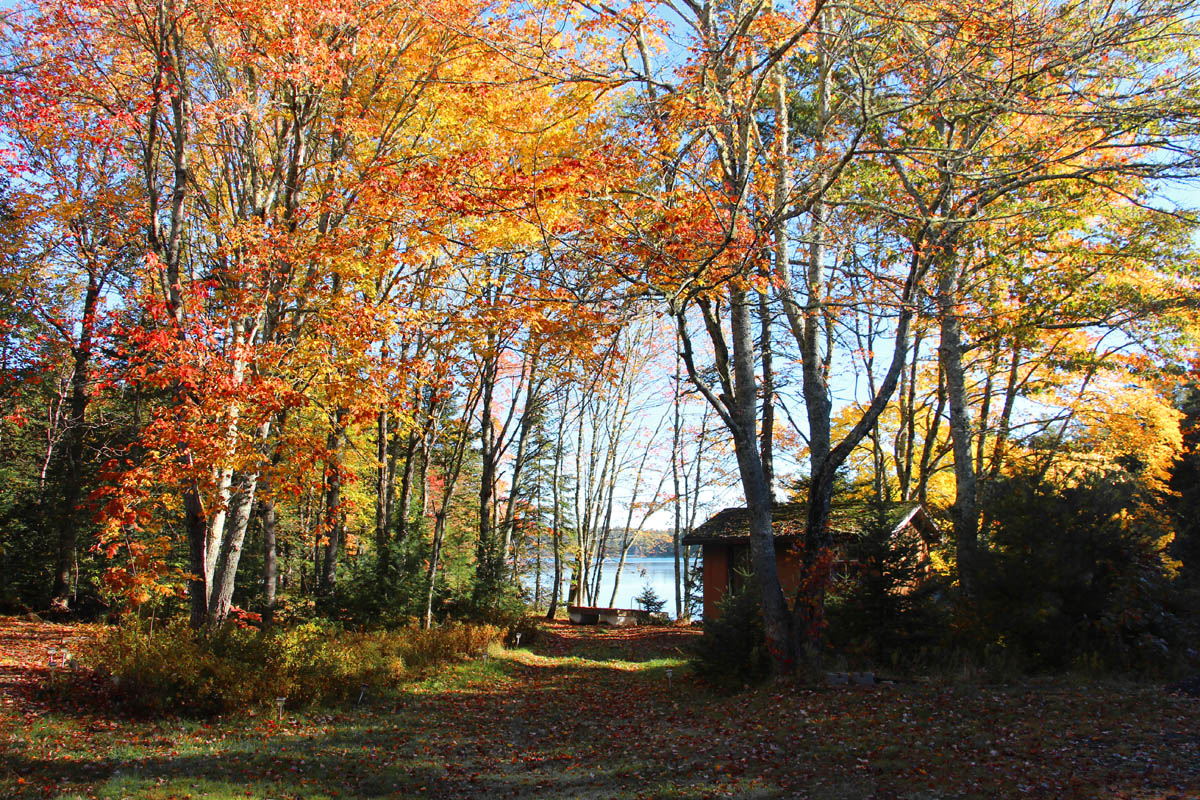
Long story short, I was too preoccupied to take photos... so here are a couple of the gorgeous fall colours!
We only got one layer finished, so there will be more insulation to come. I promise to take photos next time!
Saturday, 17 October 2015
Sunday, 4 October 2015
Ceiling Up! Rain out!
First thing I noticed when I arrived this weekend, after three days of wind and rain.... the tarp was completely OFF the tiny house! The wind must have blown it off, so yet again my tiny house was wet, wet, wet! Luckily, this weekend I came prepared to get the roof on and the whole place weather tight!
Here is Dad helping with the plywood. Yup, that's plywood being placed over the rafters! I wanted to look of boards but the air-tightness and shear resistance of plwood. I'll add a post to show how I made it happen.
This is me up on the roof screwing in the plywood. Dad and Mike did the heavy lifting to get the plywood up there. :)
Then comes the tar paper. SO happy that rain will no longer be getting into my tiny house! Hopefully it will have a chance to fully dry out!
Tar paper finished!
Feeling quite cozy inside, with the ceiling done:
I'm so pleased with how the plywood turned out! And the colour of the rafters contrasts nicely.
View towards the front door from the loft:
Took quite a while to finish the tyvek... one tall ladder made for a slow day of moving the ladder 4 feet, stapling the tyvek, then moving the ladder another 4 feet. Even with me up on the roof, it still took ages. I recommend two ladders, so one person can pass the tyvek to the next, who can work while the first person moves their ladder... leapfrog fashion!
Tyvek is on, and taped at the seams. At the top the tar paper folds over the tyvek, and is then coverd with BlueSkin to ensure a completely watertight connection between the roof and the walls.
Bring on the hurricanes! :)
Here is Dad helping with the plywood. Yup, that's plywood being placed over the rafters! I wanted to look of boards but the air-tightness and shear resistance of plwood. I'll add a post to show how I made it happen.
This is me up on the roof screwing in the plywood. Dad and Mike did the heavy lifting to get the plywood up there. :)
Then comes the tar paper. SO happy that rain will no longer be getting into my tiny house! Hopefully it will have a chance to fully dry out!
Tar paper finished!
Feeling quite cozy inside, with the ceiling done:
I'm so pleased with how the plywood turned out! And the colour of the rafters contrasts nicely.
View towards the front door from the loft:
Took quite a while to finish the tyvek... one tall ladder made for a slow day of moving the ladder 4 feet, stapling the tyvek, then moving the ladder another 4 feet. Even with me up on the roof, it still took ages. I recommend two ladders, so one person can pass the tyvek to the next, who can work while the first person moves their ladder... leapfrog fashion!
Tyvek is on, and taped at the seams. At the top the tar paper folds over the tyvek, and is then coverd with BlueSkin to ensure a completely watertight connection between the roof and the walls.
Bring on the hurricanes! :)
Saturday, 19 September 2015
Beware the Spray Foam!
Misty morning on the lake. Water levels on this lake fluctuate a lot, and right now they are very low.
Last year we had piled some large rocks on the beach to act as a foundation for a dock. This year the water went down so low that we decided to extend the foundation out ever further. But I won't be surprised if in the spring the whole pile is underwater again!
The flashing will protect the bottom edge of the 2" exterior rigid insulation that will cover the walls, keeping critters out and stopping any air flow from below. If cold air was allowed to come up from below and make it's way between the exterior rigid insulation and the wall, it could reduce or even eliminate any insulative benefits. The flashing will be taped to the tyvek, but if I had it to do over again I would also have run a bead of caulk between the plywood and the tyvek, and between the tyvek and the flashing. I love redundancy when it comes to air sealing!
Although my plans showed the plywood under the floor meeting the wall sheathing perfectly, it didn't always work that way. So, I got under the house to fill the gaps with spray foam.
It's wonderful stuff, but sticky! I always wear gloves, but by the end I was wishing I had covered my hair too. Had a few chunks that needed to be cut off!
Last year we had piled some large rocks on the beach to act as a foundation for a dock. This year the water went down so low that we decided to extend the foundation out ever further. But I won't be surprised if in the spring the whole pile is underwater again!
First red leaf! Sure sign of fall.
Had some great helpers adding flashing along the bottom of the walls.
The flashing will protect the bottom edge of the 2" exterior rigid insulation that will cover the walls, keeping critters out and stopping any air flow from below. If cold air was allowed to come up from below and make it's way between the exterior rigid insulation and the wall, it could reduce or even eliminate any insulative benefits. The flashing will be taped to the tyvek, but if I had it to do over again I would also have run a bead of caulk between the plywood and the tyvek, and between the tyvek and the flashing. I love redundancy when it comes to air sealing!
Although my plans showed the plywood under the floor meeting the wall sheathing perfectly, it didn't always work that way. So, I got under the house to fill the gaps with spray foam.
It's wonderful stuff, but sticky! I always wear gloves, but by the end I was wishing I had covered my hair too. Had a few chunks that needed to be cut off!
Saturday, 5 September 2015
Rafters
Work continued on the wall sheathing and getting the rafters up. To make the work easier we added the joists for the loft and put down some plywood to create a temporary platform to work from.
Got the rest of the rafters up.
I'm loving the view from the loft! Nice big window so I can look out at the lake while lying in bed.
Susan cutting out the door:
Sheathing is up, and housewrap is started:
Got the rest of the rafters up.
I'm loving the view from the loft! Nice big window so I can look out at the lake while lying in bed.
Susan cutting out the door:
Sheathing is up, and housewrap is started:
Sunday, 30 August 2015
Monkeying Around
On the second day we finished the sheathing and starting putting up the roof rafters... which meant lots of monkeying around up high...
After some issues with attaching the rafters, we ended the day with only six in place. Not quite where I wanted to be, but not bad! Thanks to my ladies for coming out!!
But first, how many people does it take to change a jig saw blade? :)
Rafters being measured and cut.
Lots of balancing on ladders...
...and bum shots.
Nicole is fearless, and lefthanded... which comes in handy. :)
Another bum shot!
After some issues with attaching the rafters, we ended the day with only six in place. Not quite where I wanted to be, but not bad! Thanks to my ladies for coming out!!
Saturday, 29 August 2015
Wall Sheathing Begins
Luckily the forecast is nothing but sunshine and low humidity for the next week, so the wet slippery floor will have plenty of time to dry out. I swept up as much of the goo as I could, and let the air and sunshine do the rest.
The goal for this weekend it to get the roof rafters up, but before we can do that I want to get a round of 1/2" OSB sheathing on the walls to make sure the whole structure is square before measuring the rafters.
First sheet of OSB in place. We had to push on the wall to get it squared up, but once the OSB was nailed on the frame stayed nice and plum.
Mom and Dad drove down to bring me some tools I had forgotten. Thanks!!
Friday, 28 August 2015
Tarp: a new strategy
When I left here on August 9th, I knew I wasn't going to be down at the site for almost three weeks, and fearing the weight of the water on the tarp again I decided to try a new strategy. This time I left the holes in the roof tarp so any pooling water would be able to drain. I put a second tarp on the floor that would catch any water and direct it out the door. Brilliant, right? Not quite.
Looked pretty good on arrival... tarp still nice and tight:
Inside, everything appeared to work as planned. The bit of pooling water had drained down onto the floor tarp and overflowed out the door onto the ground.
But when I peeled up the floor tarp I found this... a wet, slippery mess.
I'm not sure how the water got under the floor tarp, but the water on top had not let any air in so it had been sitting there wet for days or maybe even weeks. The plywood floor was soft and spongy in parts, and the liquid on top was thick and slippery like vegetable oil. I'm not sure why it was slippery... maybe something leeching from the wood?
So, in the end it seems letting the wood get wet then dry would have been a better option than having the tarp on the floor which ended up preventing the floor from drying. A good lesson as I move towards installing the building envelope... water WILL get in, one way or another. Best thing you can do is allow it a way to dry.
Looked pretty good on arrival... tarp still nice and tight:
Inside, everything appeared to work as planned. The bit of pooling water had drained down onto the floor tarp and overflowed out the door onto the ground.
But when I peeled up the floor tarp I found this... a wet, slippery mess.
I'm not sure how the water got under the floor tarp, but the water on top had not let any air in so it had been sitting there wet for days or maybe even weeks. The plywood floor was soft and spongy in parts, and the liquid on top was thick and slippery like vegetable oil. I'm not sure why it was slippery... maybe something leeching from the wood?
So, in the end it seems letting the wood get wet then dry would have been a better option than having the tarp on the floor which ended up preventing the floor from drying. A good lesson as I move towards installing the building envelope... water WILL get in, one way or another. Best thing you can do is allow it a way to dry.
Subscribe to:
Posts (Atom)


