Sunday, 9 August 2015

Ridge Beam in Place

Last of the walls are up, and the ridge beam is in place.  Thanks so much to my Meetup helpers!

My wonderful helpers:  Nicole, (Me), Kyle, Fergus, Roula

I apologize for the lack of photos.  I get wrapped up in the work and forget to document!  (The photo above was taken by Joshua, courtesy of Nicole.)  The beam is two 2x8s laminated together with 1/2" OSB sandwiched in the middle.  All glued and screwed together to make a very strong beam.  The beam will be exposed so we sanded the wood and countersunk the screws so it'll look pretty.

The beam (purple) rests on 4x4 posts (green) and is sandwiched between the wall sections to hold it in place.  I screwed threw the wall studs into the post and the beam from both sides


 My 3D model showing the stage the house is at now.

 Detail of the beam/post/wall connection.

Angle brackets were added under the beam to attach to the post, and I will also add a tie plate to the outside to secure the beam to the posts there as well.  The roof rafters will be notched to sit over the beam.  You may notice one wall is higher than the other in profile. Not a mistake!  This was done on purpose.  :)  Since the slope of the roof is different on each side, this adjustment will ensure the two rafters meet snugly at the top.


Saturday, 8 August 2015

Tarp Fail: Water is HEAVY

I was so proud of my new tarp job, but when I came down last night I could tell my plan had failed.  The tarp was not pulled tight enough, and the water pooled in the middle of the tarp AGAIN, pulling the walls inward.  The weight of the water was enough to snap the screws that were holding the diagonal braces in place, and once those were gone the walls didn't have a chance against the pressure from the water.


Yet again, I had to cut a hole in the tarp to allow the pooled water to drain, directing it out of the house using another tarp.  I was able to push the walls back up, and made it my goal to get the last of the walls up and the roof beam in place so this won't happen again!


Thursday, 6 August 2015

What $133 looks like

I am meticulously keeping track of every penny that goes into this tiny house.

I've placed a few big orders for delivery, the biggest being $1,959 which constituted most of my lumber and plywood for framing the whole house, plus other random adhesives, spray foam, poly, even a pocked door kit... so the price was to be expected:


But there are other times when I go to the store and leave with a couple small bags and a receipt for a mind boggling price.

Today, this is what $133 looked like:


Spray foam, adhesive, screws, nails, various brackets, jig saw blades, hurricane ties and some drill bits.  The biggest expense is the nails, which I may have overpaid for at $28.99 for 1200 spiral nails.  (6d, 2", hot galvanized.)

Don't underestimate the time you will spend shopping.  The time I spend planning & shopping easily matches the time I spend actually building.  I'll be heading to a different store later to see if I can get a better deal on nails!

Tuesday, 28 July 2015

Reinforcements

After the pouring rain and wind we had last night, I was so worried about the tiny house.  I couldn't stop thinking of the floor getting wet, soaking through to the insulation or warping the plywood.  Luckily I have a boyfriend willing to help a gal out!


We drove down to the site, through the pouring rain, stopping at Canadian Tire to pick up a tarp and some rope.  We arrived to find the rain had created huge pools in the tarp on the roof, straining the fabric to the breaking point.  The strong winds (and poor tarp placement) had allowed rain into the structure, but luckily it wasn't a fishtank as I feared.  We swept out the excess water, replaced the floor tarp, and went to work reinforcing the roof tarp.

The pooled water was too heavy to force the water over the edge of the walls, so I had to release the pressure by cutting a hole in the old tarp and directing the flow outside.  It took 5 minutes to drain all that water!  I then taped up the hole, and covered the entire structure with one large tarp.


Almost two weeks until I'm down to the site again, so fingers crossed this keeps things dry!

Sunday, 26 July 2015

Friends in Blue

Sometimes friends come out, even when it's raining!

 Five of the six wall pieces are done, and I'm eager to see them raised!

 Three pieces up!  Wow, it's taller than I expected!  :)

Five pieces up.  Used palette wrap and tarps to keep the rain out.   Until next time!

Friday, 24 July 2015

Alone in the Rain

Some days it rains...


...and tarps leak.


Some days it's just me...


...working inside, out of the rain.


Sunday, 12 July 2015

Filming & Wall Framing: Part 2

Today was full of excitement, as we had filmmakers come to document the building process!

 Claire, Chuck, Kevin and Joshua - the talented crew!

  Claire on camera.

 
 Kevin with his boom mic.

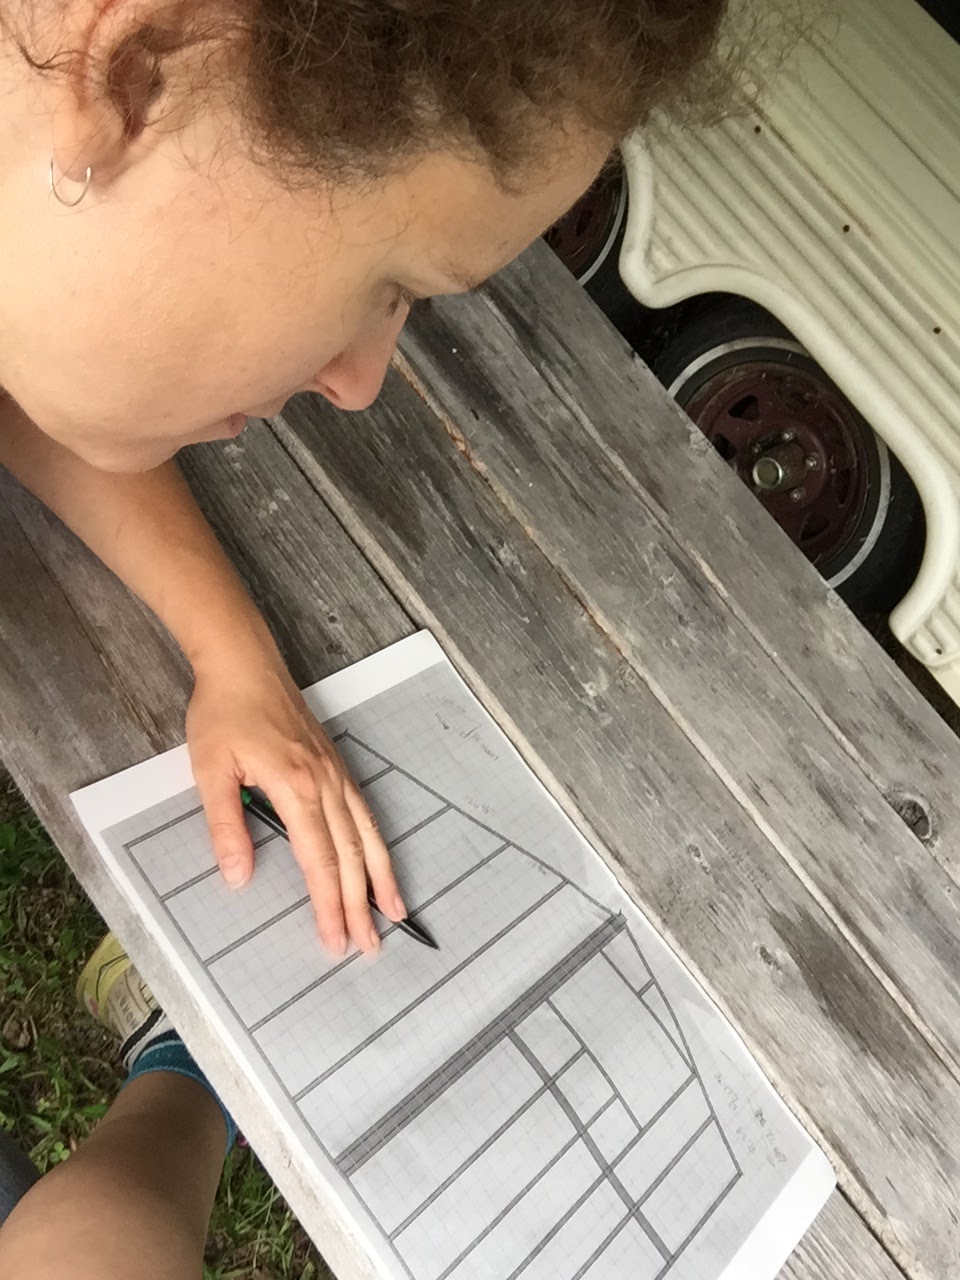
While I reviewed the plans for the third wall.

 There were time consuming notches to be made in the studs...

 ...but these ladies made it look easy.

Fits like a glove!


Progress was slow today, but we ALMOST got the third piece of wall finished. The angles and notching slowed us down, but mostly is was my lack of confidence leading to long periods of indecision.  Next time, I'm just gonna go for it!  All this time spent hemming and hawing over the right way to proceed gets me nowhere.  Instead of overthinking, trying to foresee all the issues, time would be better spent just doing it, and dealing with the issues as they arise.  At least, that's what I'll try next time.  :)