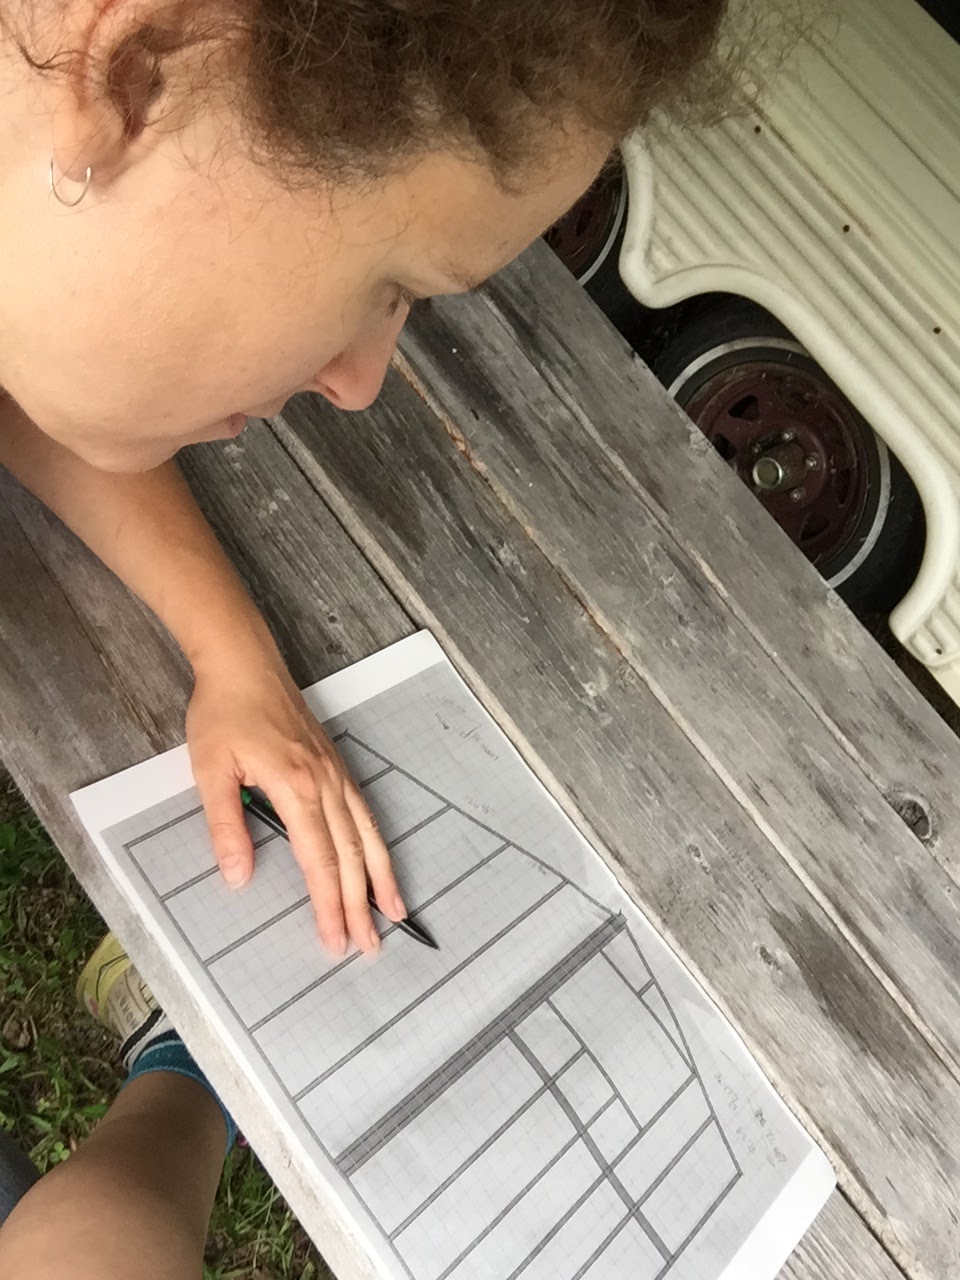
Had a great day adding insulation to the floor. I knew this part would be tricky, but I had a great bunch of worker bees helping me! I want the whole exterior to be wrapped in 2 inches of EPS rigid foam insulation, and that includes the underside of the floor system.
I'm using EPS becuase of it's breathability. It is vapour permeable so it will not trap moisture inside the walls. I specifically chose TrueFoam Foundation Plus because it is made locally, and they have many initiatives for recycling styrofoam.
Ann helped me carry the rigid insulation to the site. The rigid was glued to the bottom of the frame (using construction adhesive that wouldn't melt the foam) then covered with a thin layer of plywood.
Hard to see, but Rob is underneath the frame, screwing
the 3/8" pressure treated plywood to the bottom of the frame (through
the 2" if rigid) to protect it from critters.
Connie snapping chalk line to cut the final piece of plywood for under the floor.
Teamwork! We all stood on/held the plywood while Rob cut it to the proper size.
The cavities were then filled with Roxul insulation. I couldn't get the 7-1/2" (R32) to fill the floor cavity fully, so instead I lined the bottom of each with 2" rigid insulation, then used 5-1/2" Roxul (R-22) to fill it to the top. In the end my floor will have an R-value of about R38, which is overkill! But made sense with the 2x8 floor construction.
Connie and Kyle measuring the 2" rigid to fill each cavity.
The rigid was cut small, leaving an inch around the edge. This gap was filled with spray foam to help air seal the cavity from any air infiltration from below.
Once dry, we trimmed the overflow of foam insulation so the Roxul would fill the cavity nicely.
Roxul in place at this end.
Roxul was lovely to work with! You have to be gentle because it crumbles if you grab too hard, but it cuts like butter with a bread knife and filled the cavities nicely. I chose it because it's fireproof, resistant to rot, keeps its shape over time, and retains its R-value regardless of humidity or temperature variations.
It's easy to leave a gap along the edges (where the Roxul meets the joists) when you are patting the Roxul into place, but these gaps can reduce the effectiveness of the insulation if any cold air is allowed to infiltrate this space. So, before covering the Roxul with the vapour barrier, we went around the edges of each batt with a putty knife, gently raising the edges to the level of the joists, eliminating any gaps.
More construction adhesive to hold the vapour barrier in place and help with air sealing. The less air passing through the floor, the less chance for heat loss/gain or moisture problems.
Laying out the vapour barrier. I wish I had rubber gaskets to seal around the drain pipes, but Tuck Tape will have to do.
Sticking the vapour barrier down in the adhesive.
My hope was to sheathe the floor with 3/4" plywood before heading home, but unfortunately I bought tongue & groove plywood, which is 47.5" wide instead of the full 48". Since I framed the floor with 48" centres, the plywood joins were not lining up with my joists. With the insulation and vapour barrier in place, moving the joists or adding an extra nailing surface was not an option. I decided to call it a day and think about a solution.
Tools packed up and tarp in place. See you in two weeks!
Big thanks to my worker bees! Such a great group to work with!